 Tech Readers
We have had articles on various tools in Adobe Photoshop but this one is focused more on the techniques rather than the tools provided. Please note that all images used in this article were purchased and are used according to their licenses. Here is a short overview of the techniques we’ll be covering in this follow-up:
- Defining Colors
- Controlling Folders
- Split-Toning Effect
- Flexible Vignette
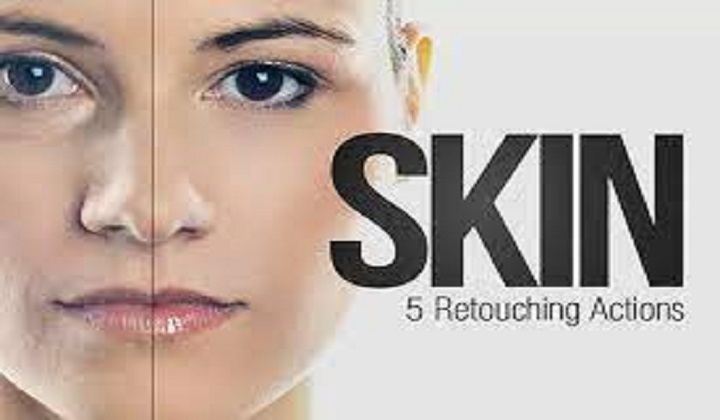
- Skin Retouching In Camera Raw
- Setting Lights • Distinguished Paleness
- Dodge And Burn Look
- Bright Eyes
- The Orton Effect
- Optimizing Lasso Selections
- Aligning Layer Contents
- Restoring Selections
- More Photoshop Tips and Tricks
Defining Colors
If you want to redefine the foreground and background colors, use the Eyedropper tool to select the foreground color, and then switch the position with the background color, maybe by using the shortcut X, and pick up the next color. But there is an easier way.
First, define the foreground color just as you’re accustomed to, but then define the background color by holding the Alt/Option key. Instead of changing the foreground color, you’ll redefine the background color with just one click.
Controlling Folders
Folders give structure to layers, which is especially important if you’re working on demanding compositions. Folders are often collapsed, so you can’t see the contents at first sight. This conserves space but it’s not always desirable. If you want nested layers to reveal their contents and offer a quick overview, hold the Control/Command key and click on one of the triangles to expand.
All folders at the first level will expand. You can collapse them again using the same trick. To expand all nested folders inside the folders as well, hold the Alt/Option key as well as the Control/Command key
Split-Toning Effect
Create two new gradient maps via Layer → New Adjustment Layer → Gradient Map. You could, for example, create a gradient from dark blue to beige and another from dark-brown to white. To change a gradient, click on it to open up the “Gradient Editor” dialog box. There, click on your chosen color patches and open up the color picker via the “Color field.”
Confirm with “OK,” double-click the layer with the second gradient map and, under “This Layer,” move the right slider to the left. To make the transition a little smoother, click on the slider while holding down the Alt/ Option key and move it to the right. Confirm with “OK.”
Flexible Vignette
To create a non-destructive vignette, go to New Adjustment Layer → Levels. Darken the image completely by, for example, setting the Highlights down to 80. Now use the Brush tool with black color to paint the light center into the layer mask. Instead of using a brush to paint the area, you could use the Elliptical Marquee tool and fill the selection with black